


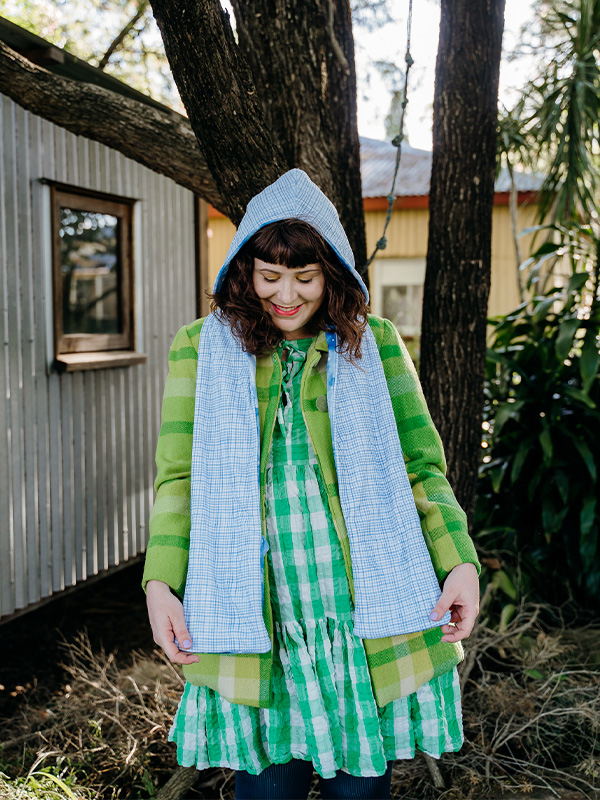
Featured designs: Chilly Snow Winter Blue by ninola-design and Indigo Brush Weave by danika_herrick
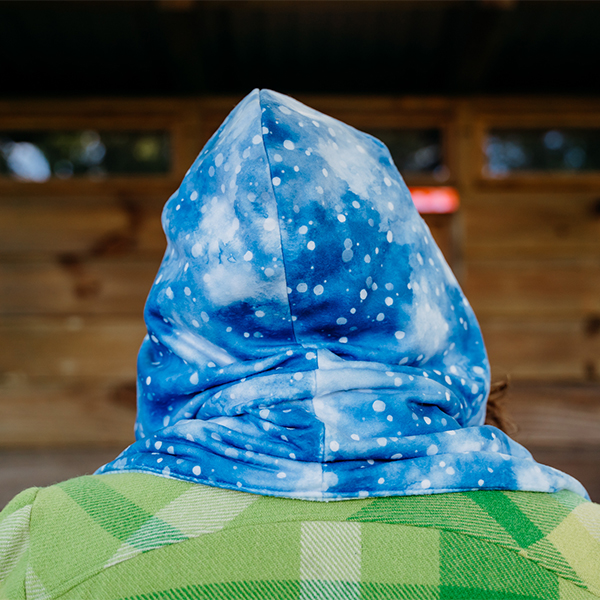
Much less is extra on the subject of a hooded scarf. Quite than maintaining with a shawl and hat, have it all-in-one with this snazzy piece. Made with Polartec® Fleece, a hooded scarf (often known as a snood) is the proper winter accent for staying cozy and heat. Who doesn’t love pockets? Add some to your snood to make it your go-to scarf. And a few optionally available cute ears for a little bit further enjoyable! Hold studying as our associates at Peppermint journal share a free template plus the steps to getting you within the snood!

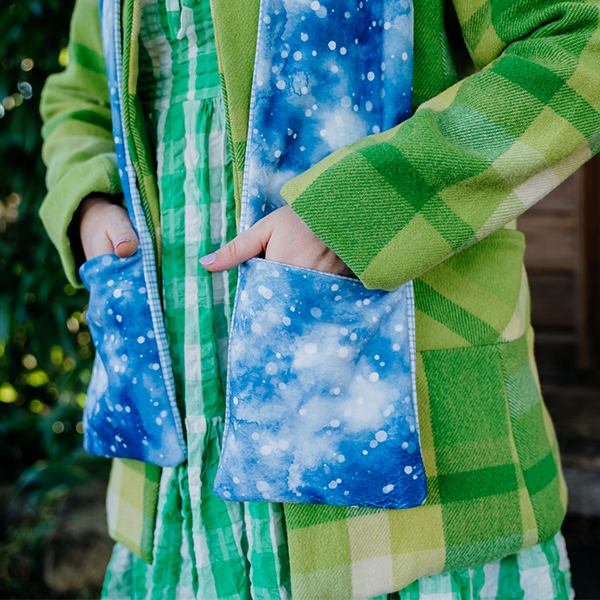
Peppermint: A candy little make to get you thru the cooler months! This hooded scarf is nice for inexperienced persons seeking to work with Polartec® Fleece for the primary time. In case you’re on the lookout for an excellent tender addition to your wardrobe—that is it. Add it beneath coats for further heat or present it off on prime of your outfit. Trying to make an additional cute model? Add ears to your snood, we’ll present you ways!
Talent degree:
Newbie
Supplies
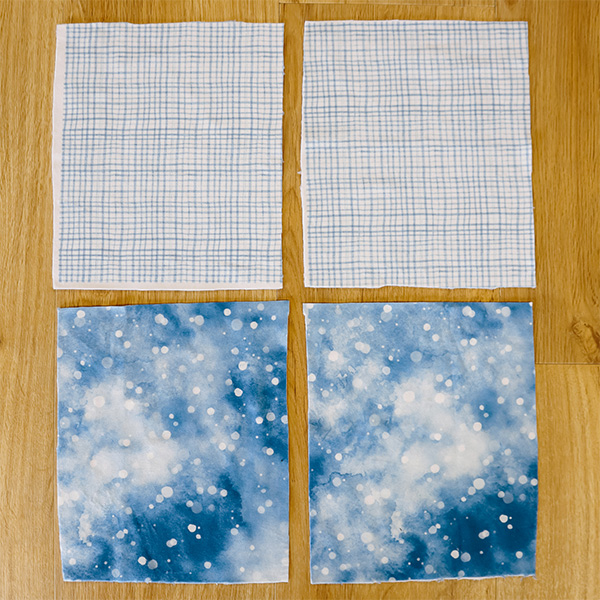
- 2 yards of Polartec®️ Fleece—we’re utilizing a yard every of each Chilly Snow Winter Blue by ninola-design for the outer design and Indigo Brush Weave by danika_herrick for the liner
- Light-weight fusible interfacing
- Material scissors
- Iron
- Thread
- Stitching machine
- Printed sample
- Ruler (optionally available)—to measure your scarf cloth
Store Finest-Promoting Winter Designs


Steps to Make a Hooded Scarf
Step 1. Print your sample
Obtain and print your sample through the hyperlink right here. Please observe all seam allowances are 0.4” (1 cm).
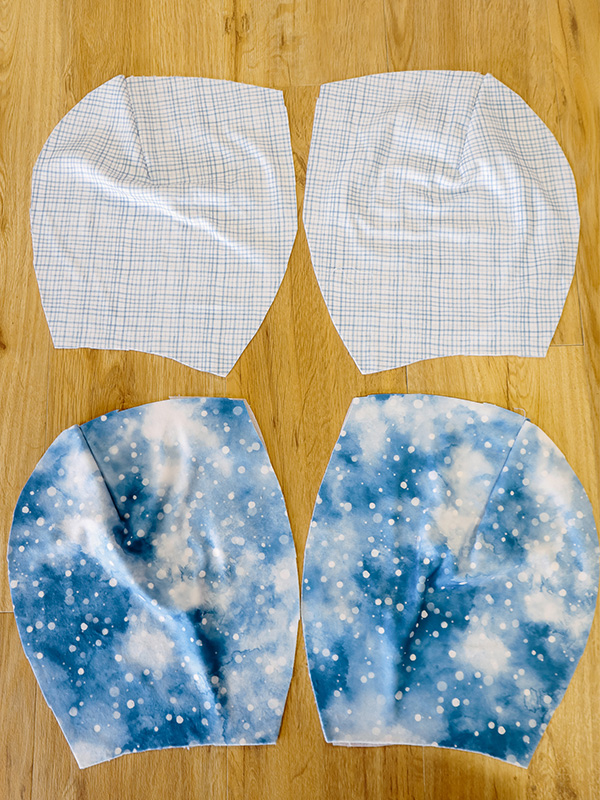
Step 2. Minimize out your sample items
Minimize out your sample items as famous under.
Proper-side Outer cloth:
- Hood piece x 2
- Scarf piece x 2
- Pocket piece x 2
- Ear piece (optionally available) x 4
Improper-side Lining cloth:
- Hood piece x 2
- Scarf piece x 2
- Pocket piece x 2
Light-weight fusible interfacing:
- Hood edge piece x 2
Don’t Overlook To Minimize Out Your Scarf Material!
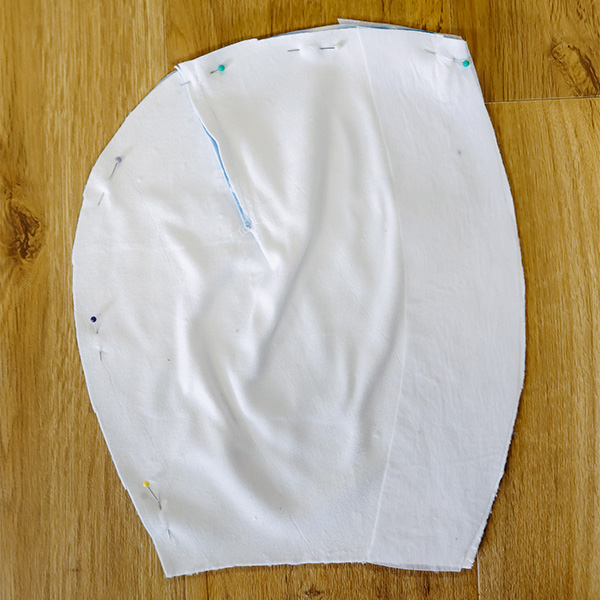
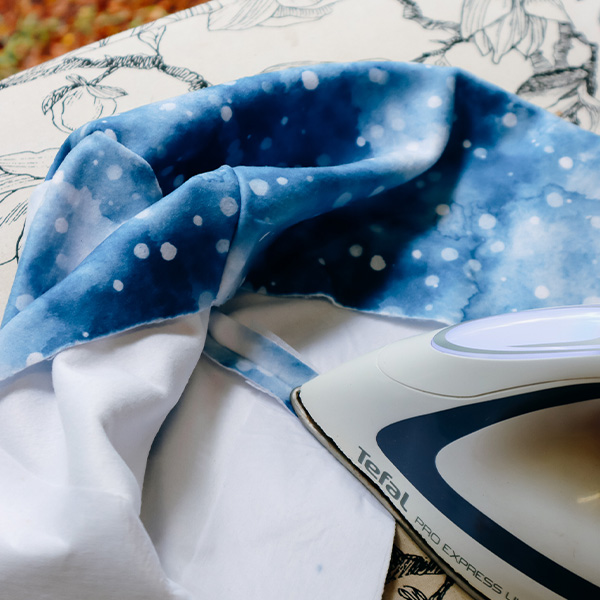
Step 3. Iron interfacing to the mistaken facet of the entrance of the hood
Iron your interfacing items onto the mistaken facet of your outer cloth items solely.
Step 4. Add your hood’s ears (optionally available)
In case you’re making your hood with ears, sew two ear items, right-sides collectively, leaving the bottom open. Flip proper sides out, press and prime sew. Repeat for the opposite ear.
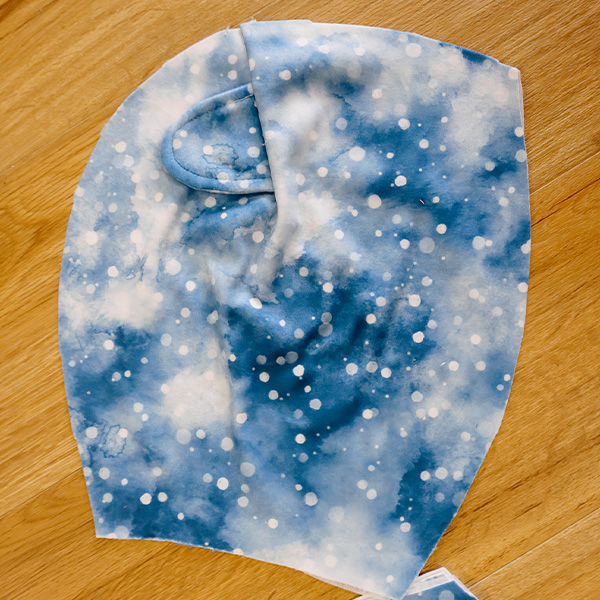
Step 5. Sew hood darts
Sew the hood darts which can be situated on all hood items.
Including Ears?
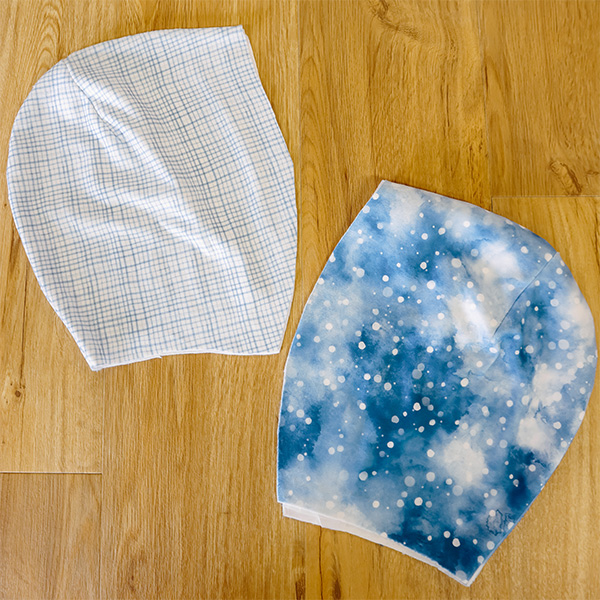
Step 6. Sew the center seam of your outer and lining cloth
With the proper sides collectively, sew down the center seam of the outer cloth. Repeat together with your lining. Flip the hood items proper facet out and press the seams open.
Step 7. Sew outer and lining items collectively
Place the outer hood and lining hood right-sides collectively and sew across the edge, leaving the bottom open. Press and prime sew. Now your hood is able to meet your scarf!
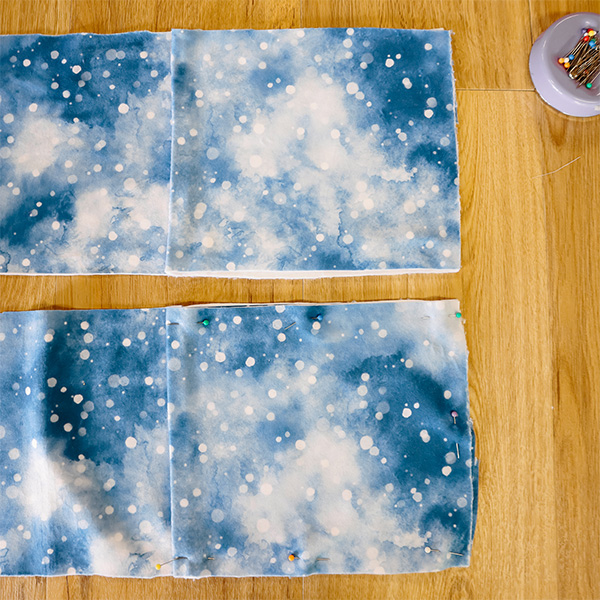
Step 8. Sew the center seams of the headscarf cloth
Sew collectively the center seam of the outer scarf cloth, and press open. Repeat together with your lining.
Step 9. Connect the hood to the outer scarf cloth
Connect the hood to the outer scarf cloth by putting the proper facet of the hood to the proper facet of the headscarf, matching up notches and center seam.

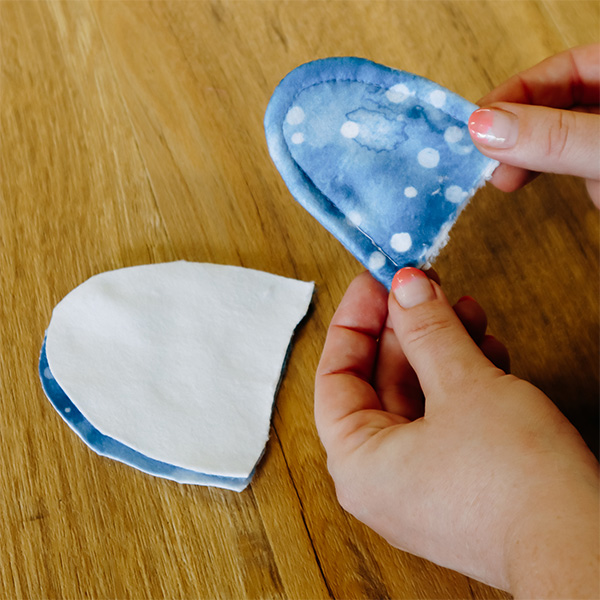
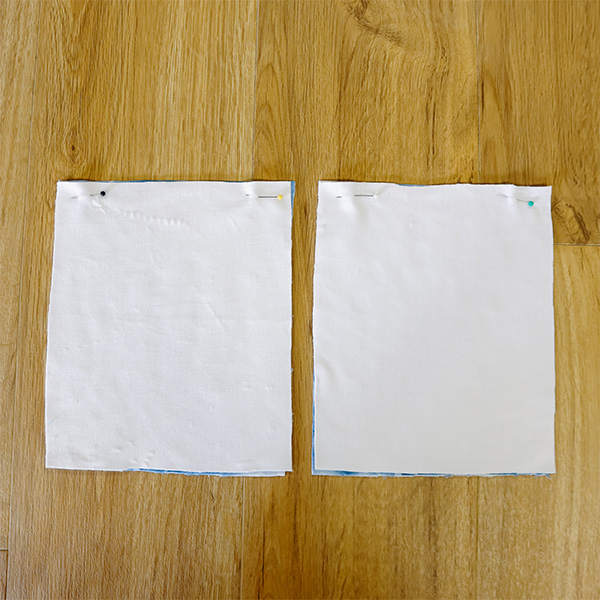
Step 10. Make mittens (optionally available)
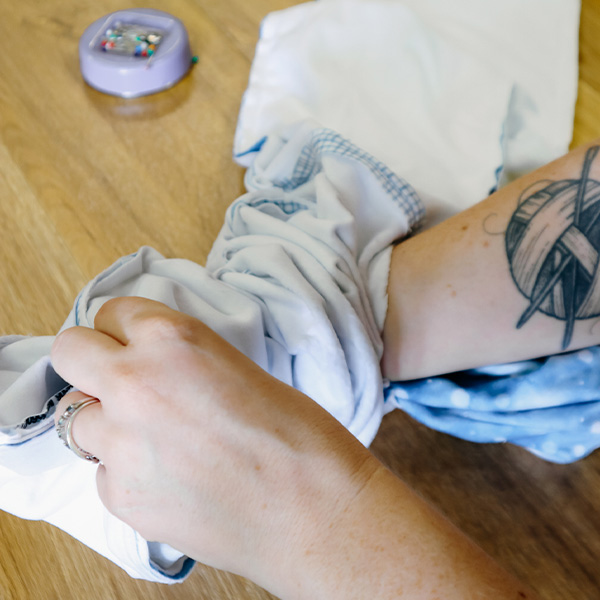
In case you favor to have a snood with out mittens, you may skip to step 11. To make the mittens, place one outer mitten piece and one lining mitten piece right-sides collectively and sew alongside the highest edge. Flip it proper sides out and press alongside the highest seam. Repeat with the opposite mitten.
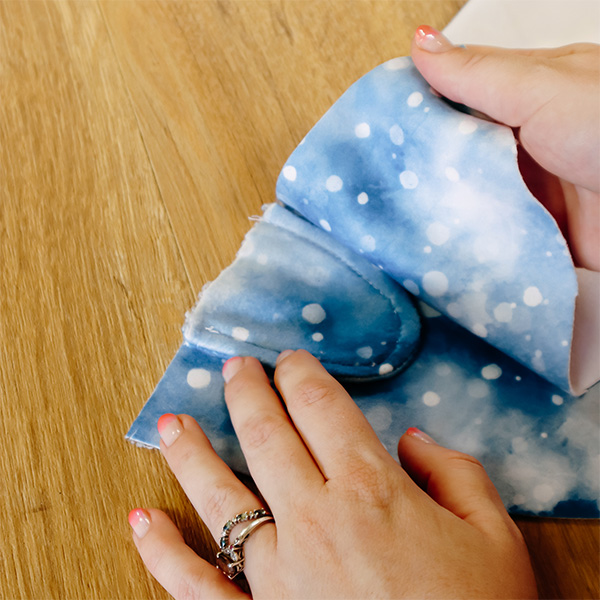
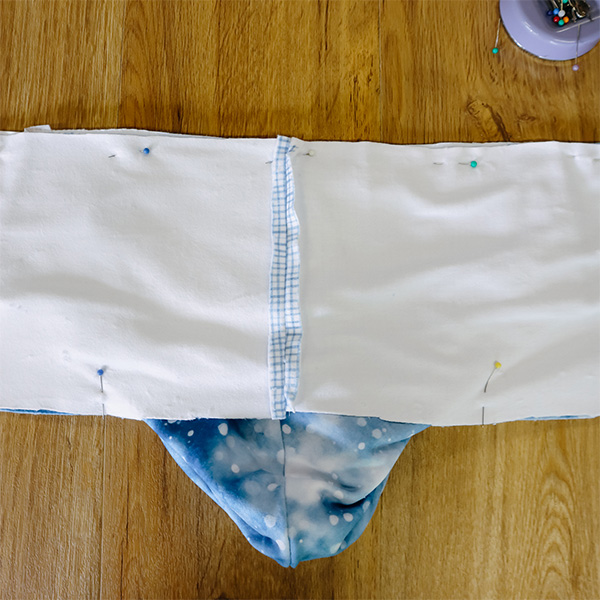
Now that your mitten squares are sewn on the prime edges, it’s time to sew them to your scarf. At every finish of the headscarf, place a mitten onto the proper facet of the material and sew down the perimeters to safe them. You’ll want to preserve that pocket open for later!

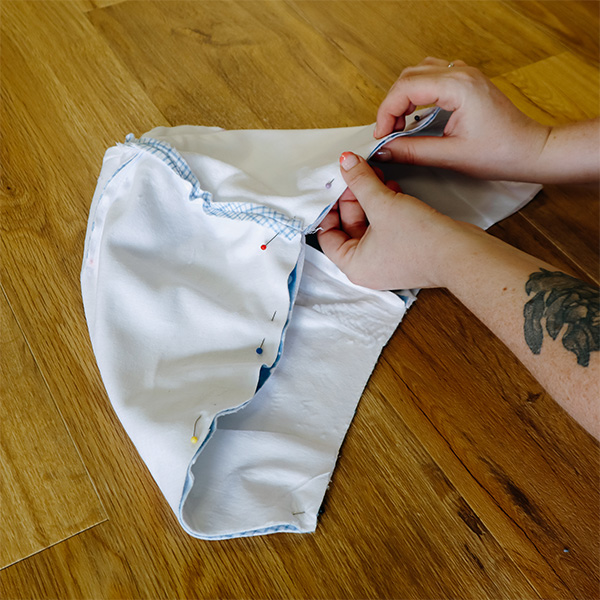
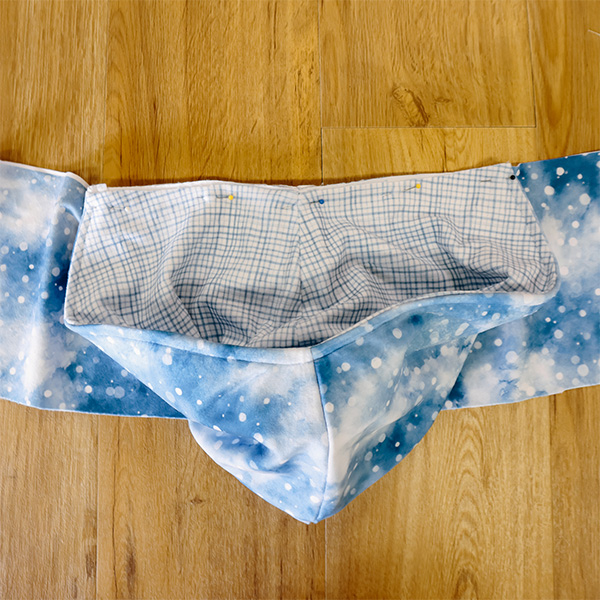
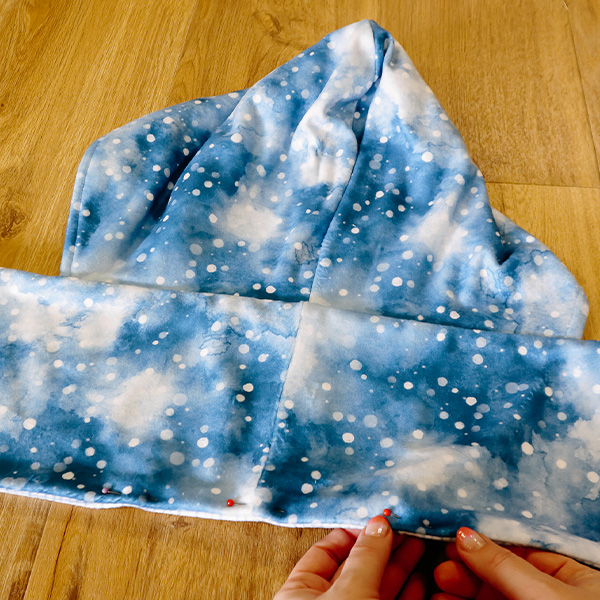
Step 11. Sew layers collectively
Now to stitch all of the layers collectively! Lay the sewn hood and scarf flat on the desk with proper sides up, then place your scarf lining on prime. Leaving a 6” (15 cm) hole on the heart again seam, sew across the complete fringe of your scarf to safe the hood and mittens in.

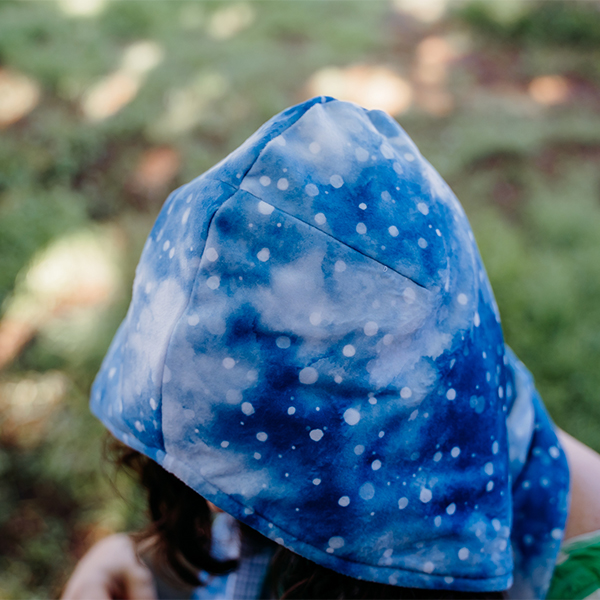
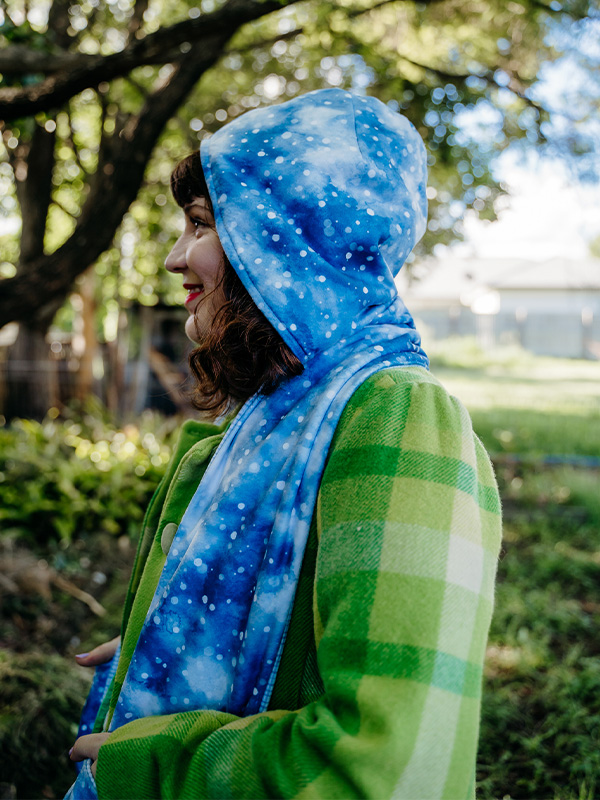
Step 12. Flip scarf design facet out
Flip your hooded scarf out via the middle again gap and provides it an excellent press. Sew the middle again gap closed and your hooded scarf is all completed!

Continuously Requested Questions
Need To Do Extra Polartec® Fleece Initiatives?
The submit How To Make a Hooded Scarf appeared first on Spoonflower Weblog.


