


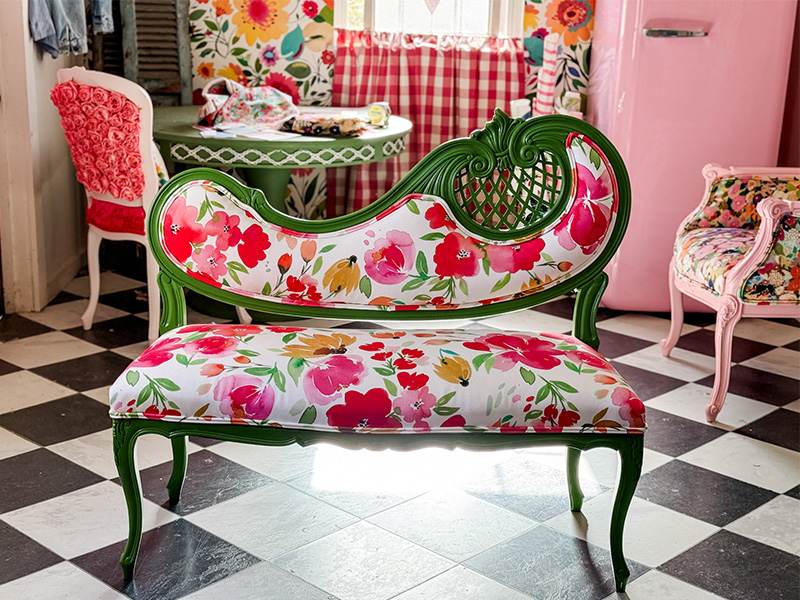
Featured design: Smells Like Spring Watercolor Floral by ninola-design
The individuality of vintage furnishings can encourage the thought of giving it a second, reupholstered life. Whether or not you obtain one thing handed down from a relative, or luck up on a discover at a thrift retailer—when you might have that inkling to revive it, pay attention. Reupholstering furnishings is usually a nice weekend venture, and the sensation of accomplishment is unmatched. Spoonflower Maker Wendy Conklin of Chair Whimsy reveals us how she’s giving a sofa a second life.
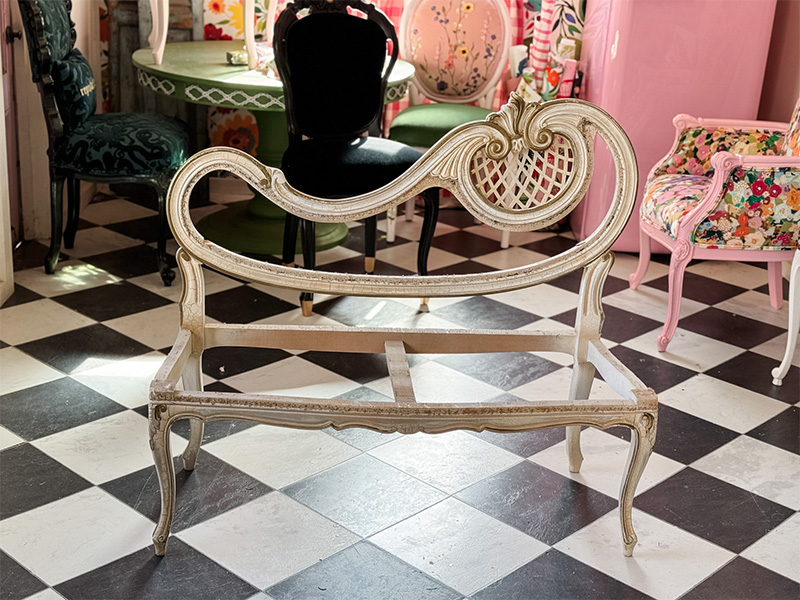
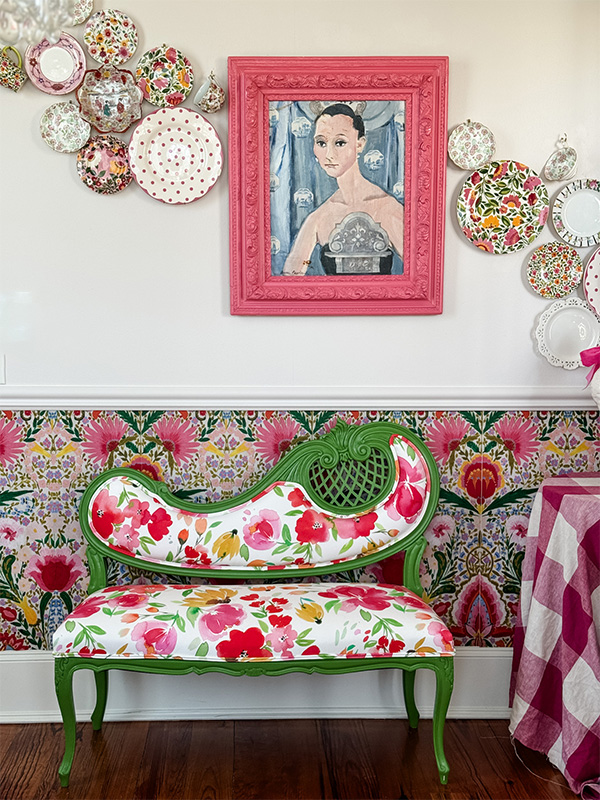
Wendy: Settees make nice dialog items across the residence. You may usually discover small ones that may be tucked into corners, positioned alongside a function wall, put on the finish of a mattress or used at a eating desk for further seating. In case you are a newbie, beginning with a small one shall be a lot simpler so that you can study.
What’s a sofa?
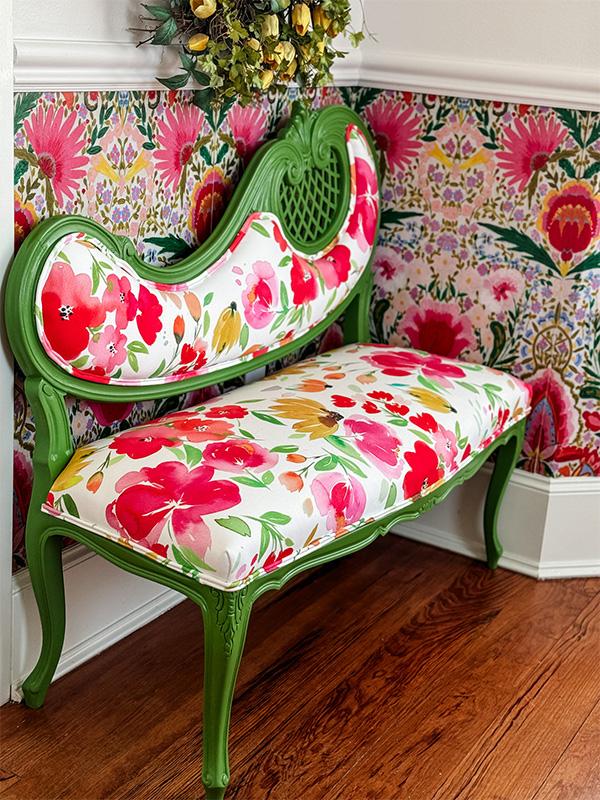
A sofa is a small, cushioned chair—much like a settee—that sits on picket legs and accommodates, normally, two folks. Settees had been fashionable by the 18th and nineteenth centuries. At the moment, you may even see settees in powder rooms, sitting rooms and different ornamental areas.
Why ought to I reupholster a sofa?
A sofa is a superbly designed piece of furnishings. With the suitable tender love and creativity, reupholstering one might be enjoyable and supply a possibility to convey your area collectively. If you wish to get into upholstering, a small furnishings piece like a sofa is an efficient begin.
Learn how to reupholster a sofa:
Let’s begin with the supplies you’ll have to reupholster a sofa.
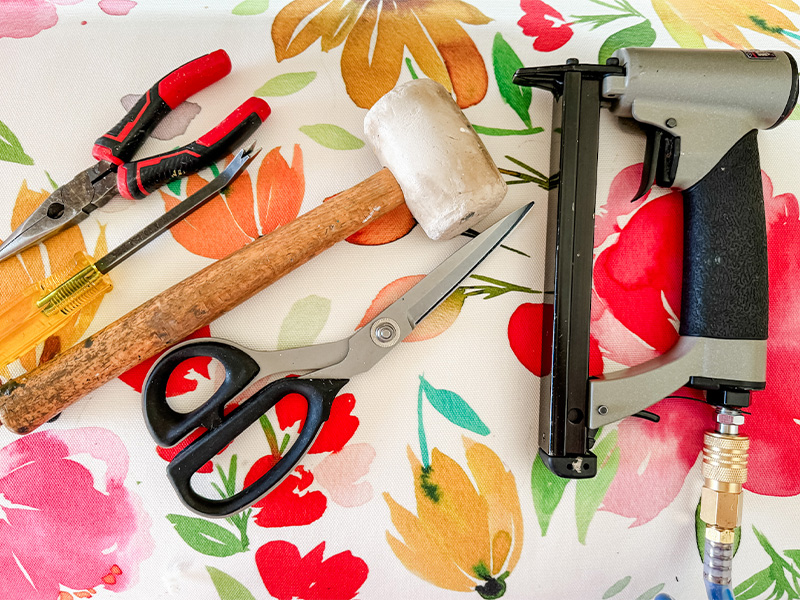
Instruments
- Needle nostril pliers
- Staple lifter
- Mallet
- Scissors
- Staple gun and a small compressor—You should utilize a guide stapler, however a staple gun and compressor make the job a lot simpler in your palms
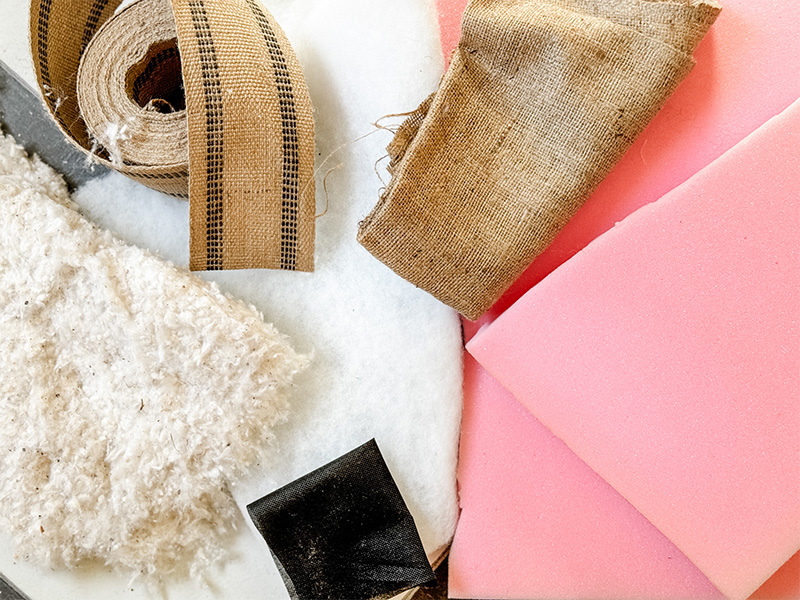
Provides
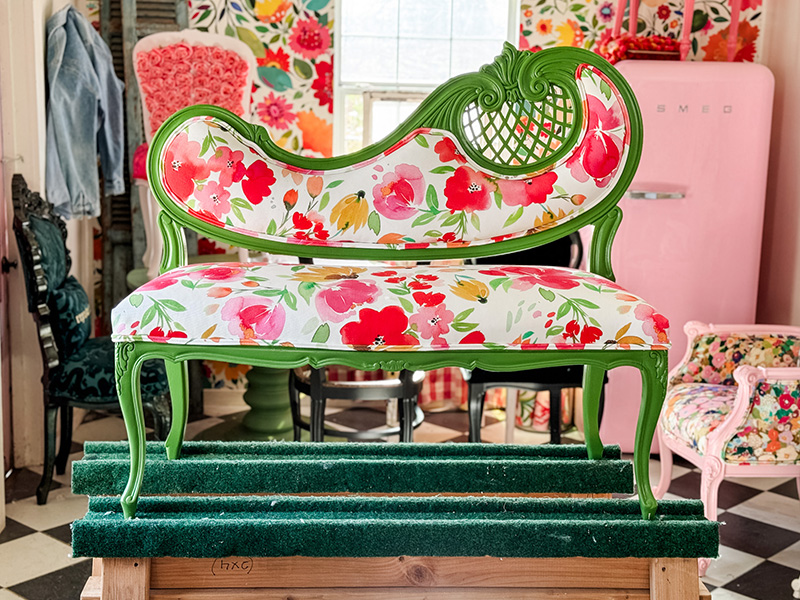
- 6 yards of Cypress Cotton Canvas—I’m utilizing Smells Like Spring Watercolor Floral by ninola-design
- 1 yard of cotton
- 1 yard of jute webbing
- 1 yard of burlap
- 1 yard of 1″ medium-density foam
- 1 yard of two″ medium-density foam
- Mud cowl
- 1 roll of butcher paper or 1 poster board—to make templates for the sofa’s foam items and Dacron batting.
- (Non-obligatory) paint and paintbrush to color the body of your sofa
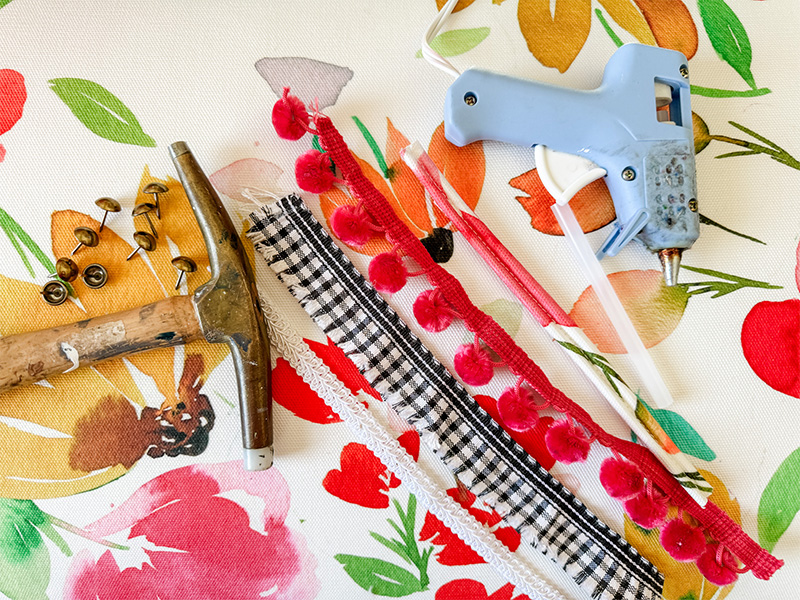
Ornamental trim
Select one of many following to cowl your staple line:
- Ornamental tacks and a tack hammer
- Gimp, ribbon, pompom trim or double welt wire and a scorching glue gun
Provides Word:
- Deciding on the suitable trim: Ornamental tacks require a tack hammer and are much more time-consuming. Gimp, ribbon, pompom trim or double welt wire require a glue gun and glue sticks and are a lot simpler to use.
- Material estimates: Your chair could also be barely completely different than mine. To make sure you order sufficient provides, see this submit about upholstering to assist estimate the quantity of material you’ll want on your venture.
Half 1: Strip the Furnishings Right down to the Body
Previous furnishings is commonly very telling of its age, so eradicating supplies all the way in which all the way down to the body is at all times greatest.
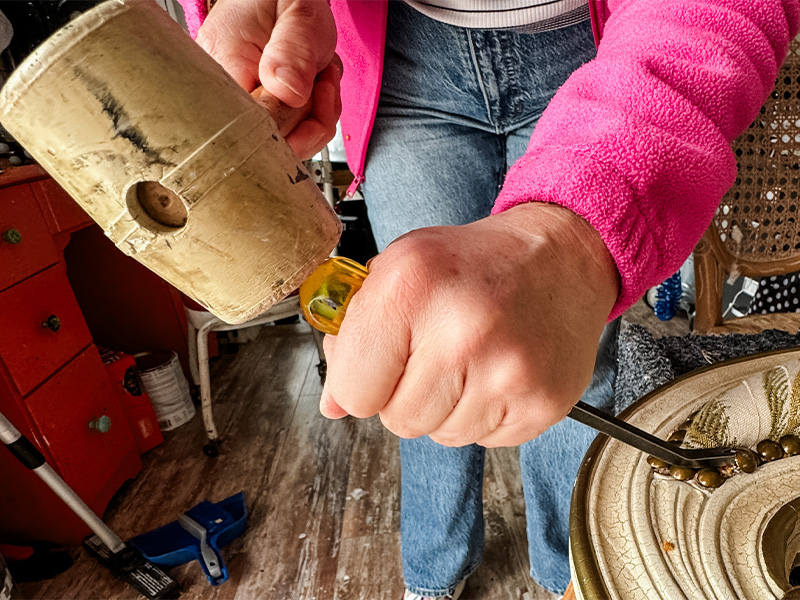
Step 1: Use your mallet and staple lifter to take away the staples and tacks
Take away the material and all of the insides by taking out the staples or tacks. Use your staple lifter and mallet. Place one tooth of the staple lifter underneath the tack or staple.
Step 2: As soon as your staple lifter is underneath the staple, pull up as you hammer
Use your mallet to hammer the top of the staple lifter till you’ve lodged the staple lifter beneath the staple. Pull up as you hammer.
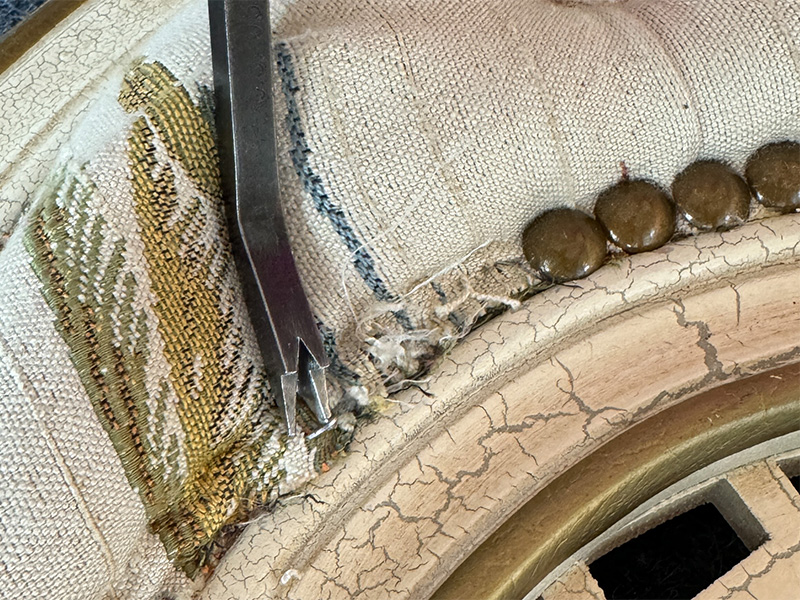
Step 3: Take away the staple or tack together with your pliers
Proceed till you might have a clear body. It does take a while and energy however consider it like pulling weeds. It’s senseless work and also you’ll be glad you probably did it as soon as it’s full.
Non-obligatory Half 2: Paint Your Sofa’s Body
When you’re happy together with your sofa’s authentic colour, proceed to Half 3.

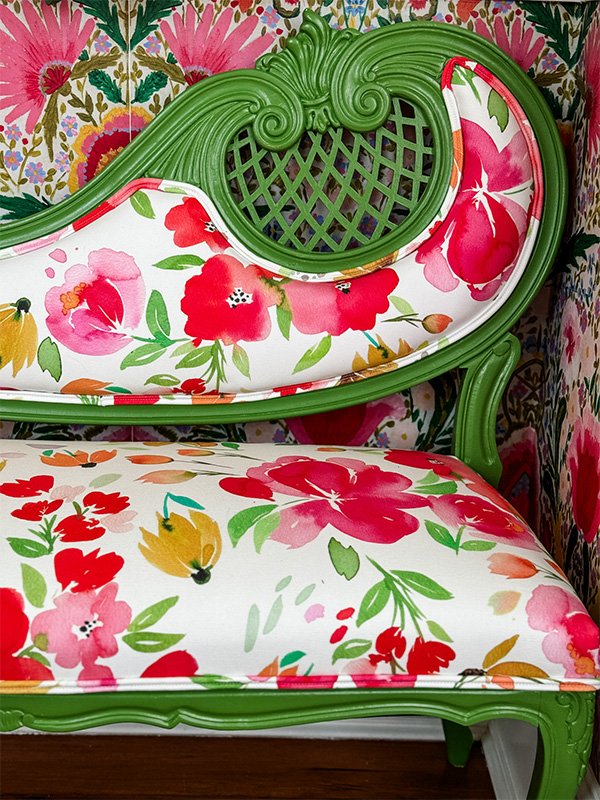
Since I’m utilizing this Spoonflower floral cloth, I selected inexperienced in order that the material would pop in opposition to the paint colour.
If you wish to paint your furnishings, now could be the time to do it. My mantra is “The material at all times drives the paint colour.”
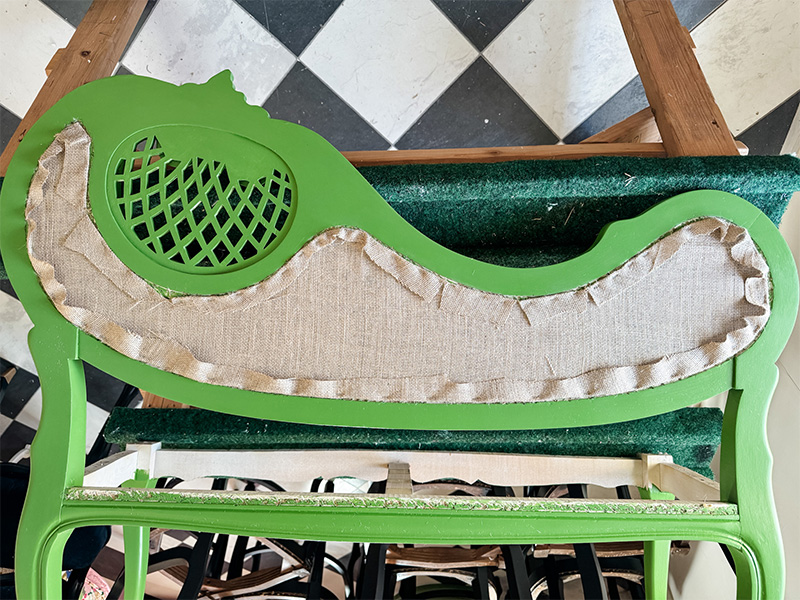
Half 3: How To Reupholster the Prime of a Sofa Chair
That is the half the place you’ll be including a number of layers onto the wooden base to make it snug to take a seat on. First jute webbing, then burlap, then cotton, then foam, then Dacron. The steps under will stroll you thru all these layers, with pictures too!
Begin by laying the sofa down on a desk or set of sawhorses so as to work over prime of it.
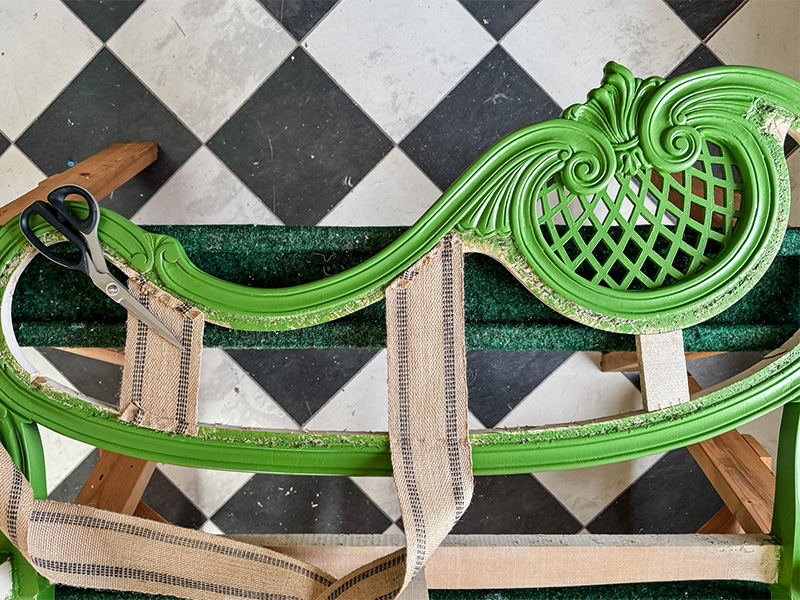
My jute webbing is connected the place I feel essentially the most help is required.
Step 4: Staple jute webbing to the sofa’s again
Place a few items of jute webbing strategically to assist help the material. Staple in place and fold over the top items.
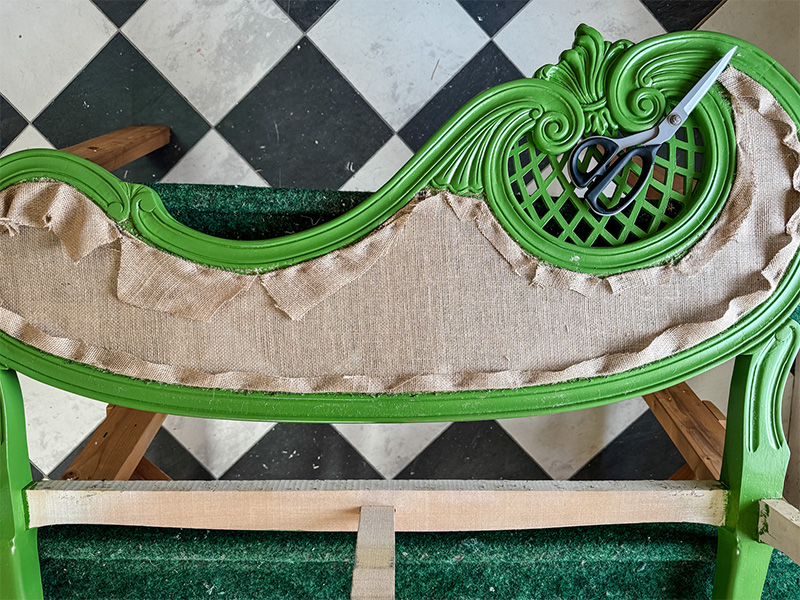
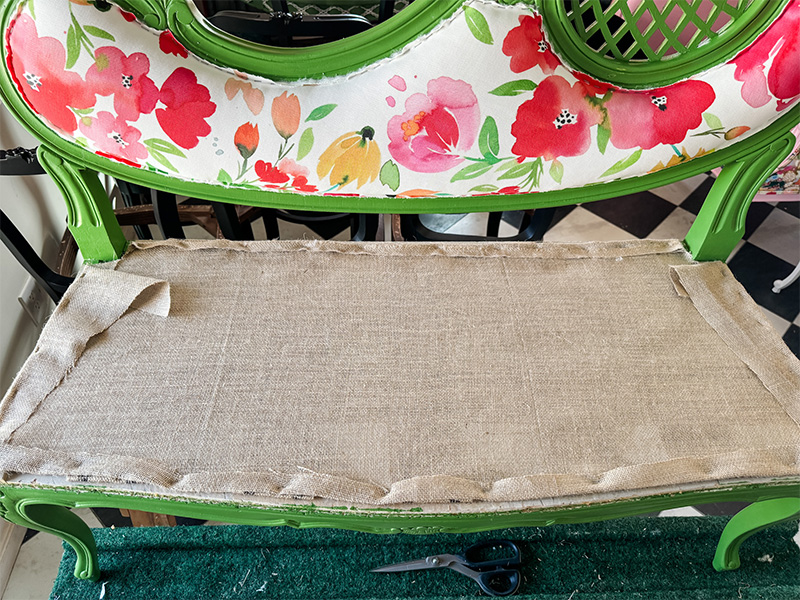
Step 5: Staple burlap over the webbing
After securing the jute webbing, staple a layer of burlap tightly throughout the sofa’s prime. Fold within the edges and staple in order that none are hanging over the facet.
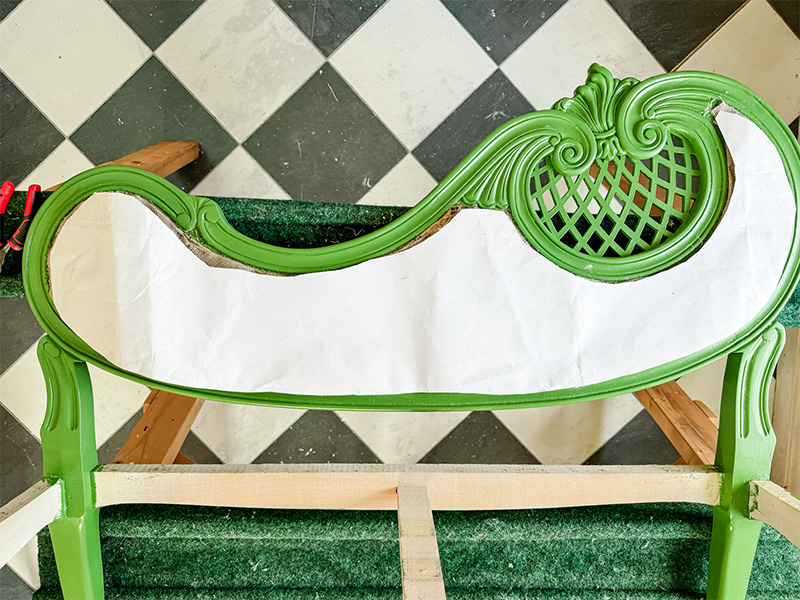
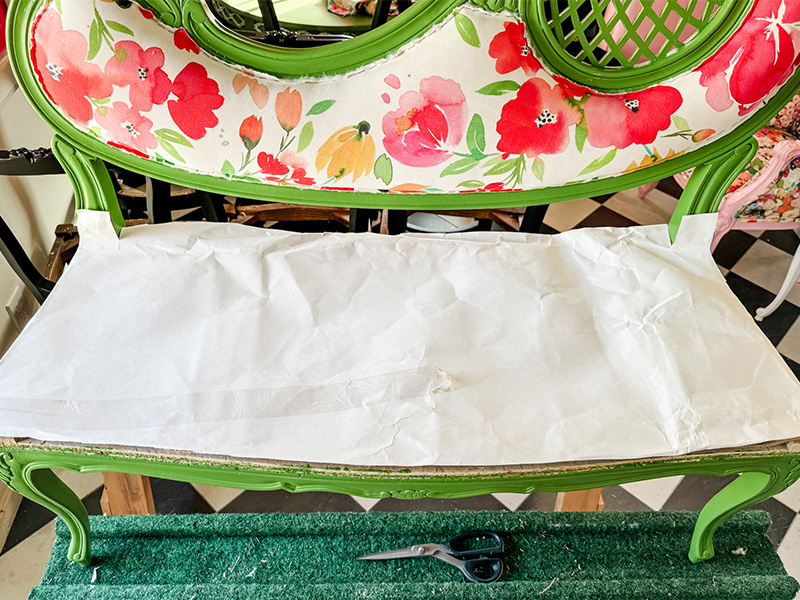
Step 6: Make a paper template
Lay paper throughout the highest of your sofa. Hint across the prime—the place we’ve positioned the jute webbing and burlap—to make a template. This may assist us put together the correct amount of froth for this space.
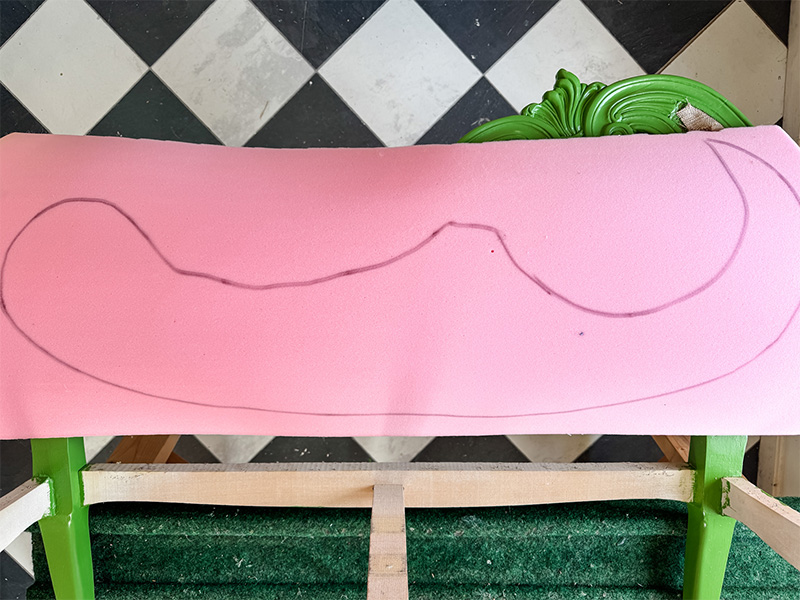
Step 7: Hint and lower out your foam
Use your paper template to hint and lower out a chunk of 1” medium-density foam. We’re not including the froth simply but. It’s simpler to hint out the template on the burlap reasonably than the cotton we’re including within the subsequent step. After slicing out your foam template, place it to the facet. We’re coming again to it in step 9.

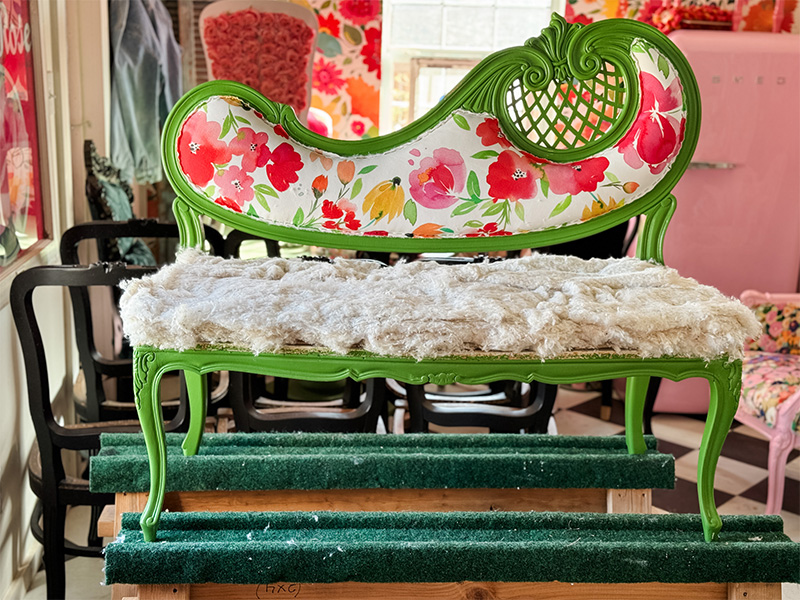
Step 8: Place cotton in your burlap
The subsequent layer we’re including to our sofa prime is cotton. This may go on prime of the burlap.
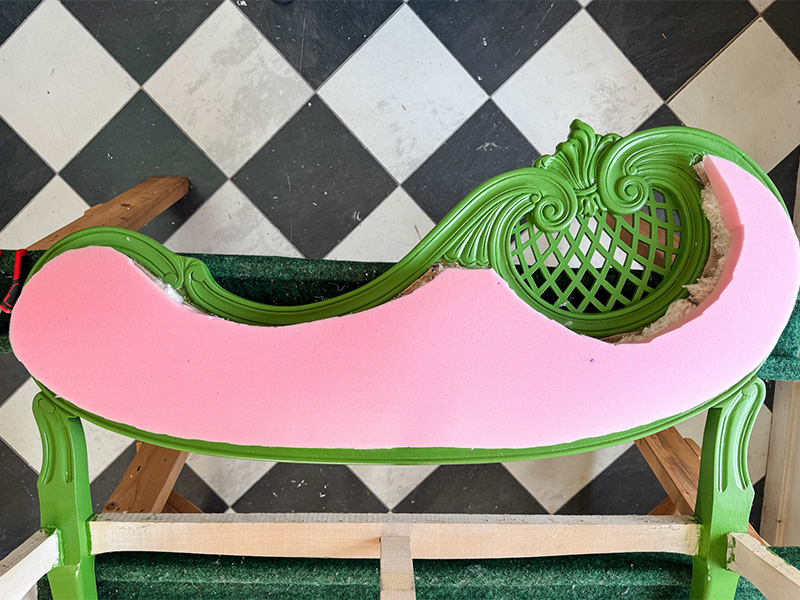
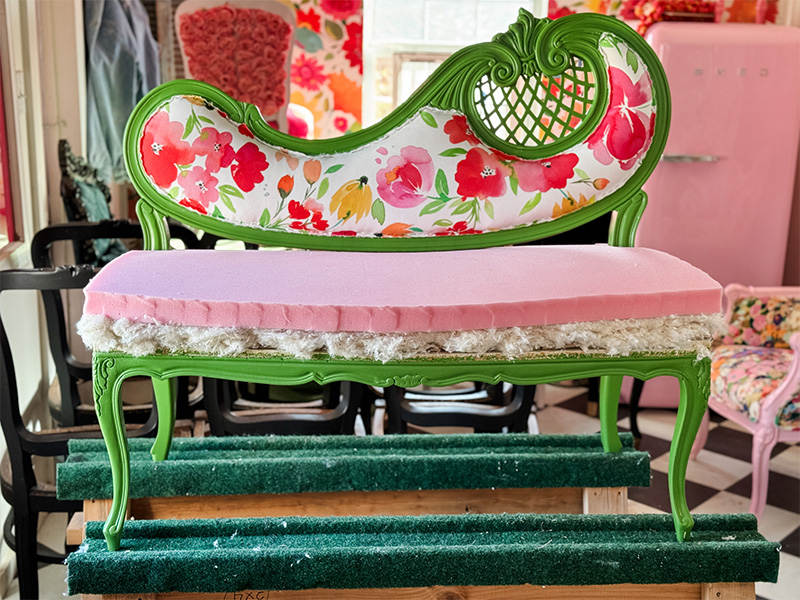
Step 9: Place your foam on prime of the cotton
Seize your foam piece and place it on prime of your cotton layer.
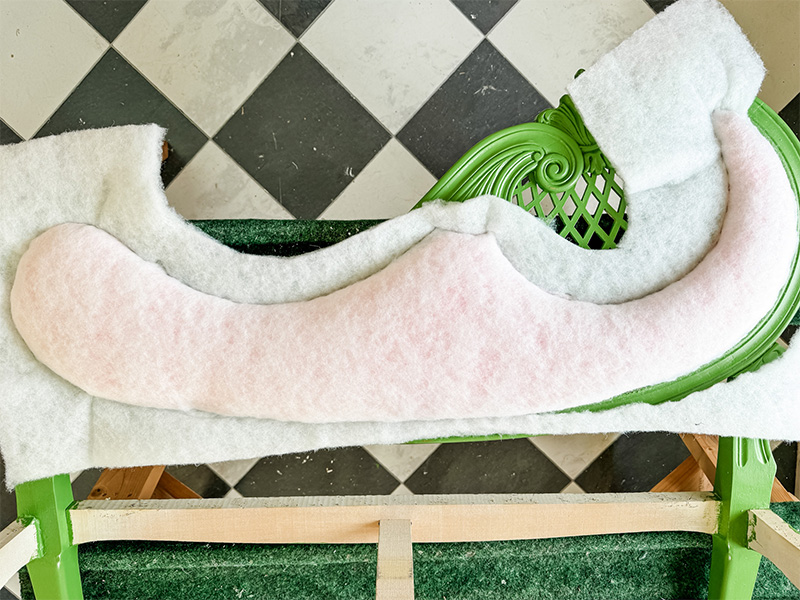
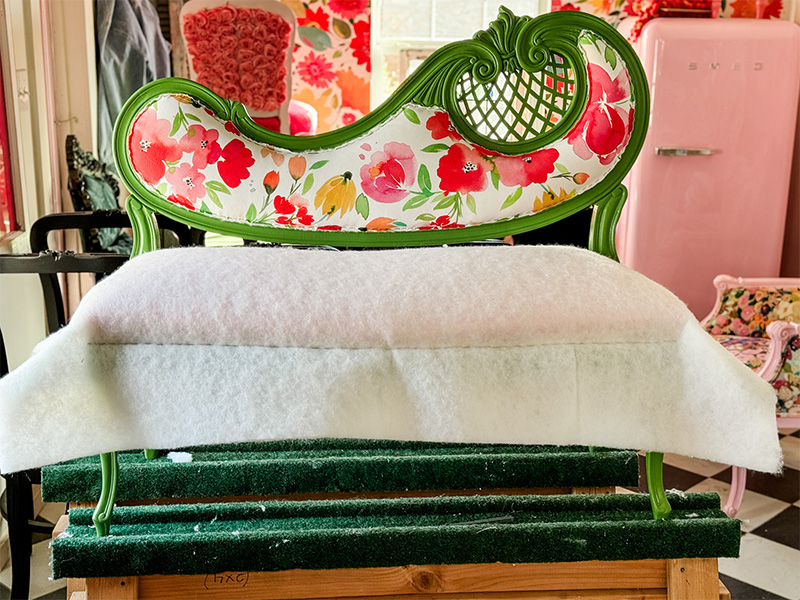
Step 10: Layer on and staple Dacron
Place a layer of Dacron on prime of your kind. Staple your Dacron in place, pushing the cotton and foam down firmly as you go.
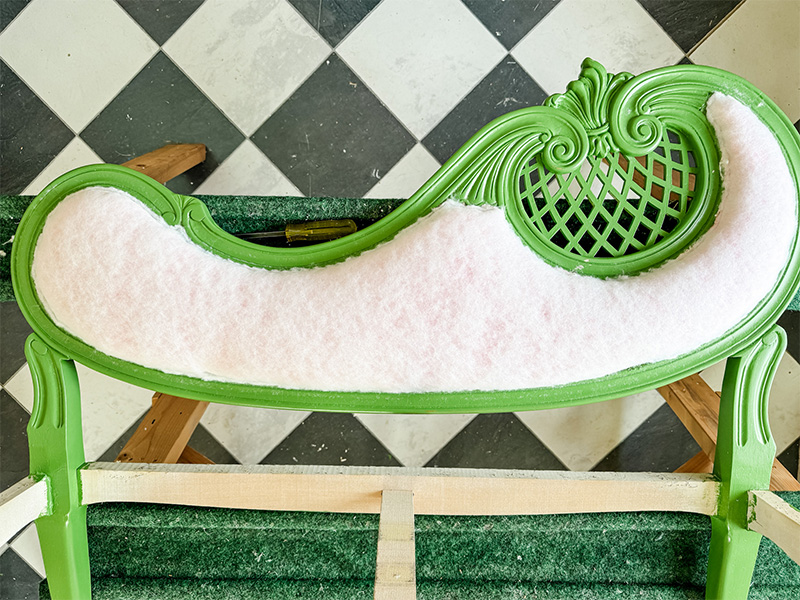
Step 11: Trim extra Dacron
Now that your Dacron (and different insides) are safe, trim off the surplus Dacron.
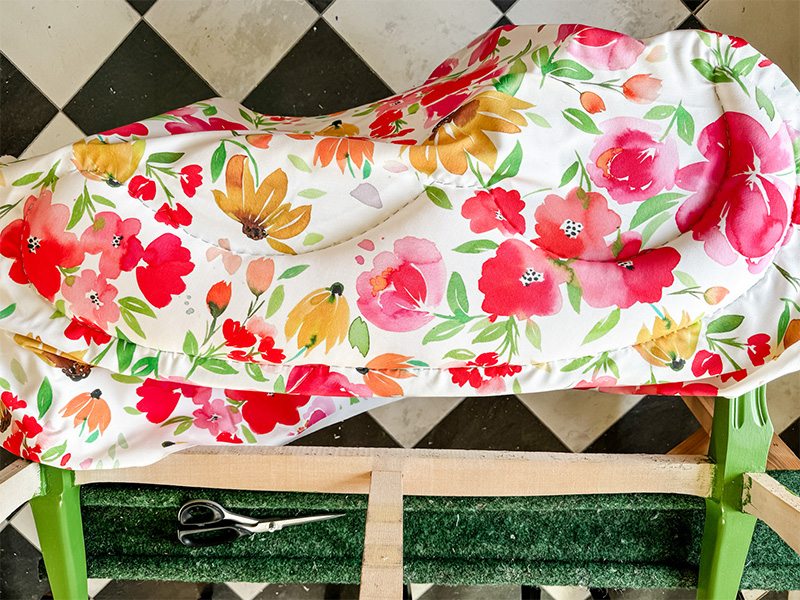
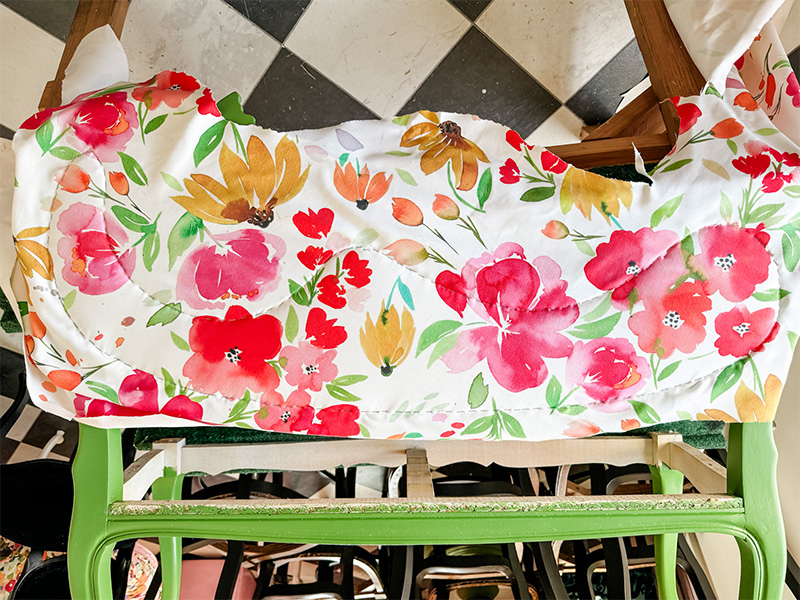
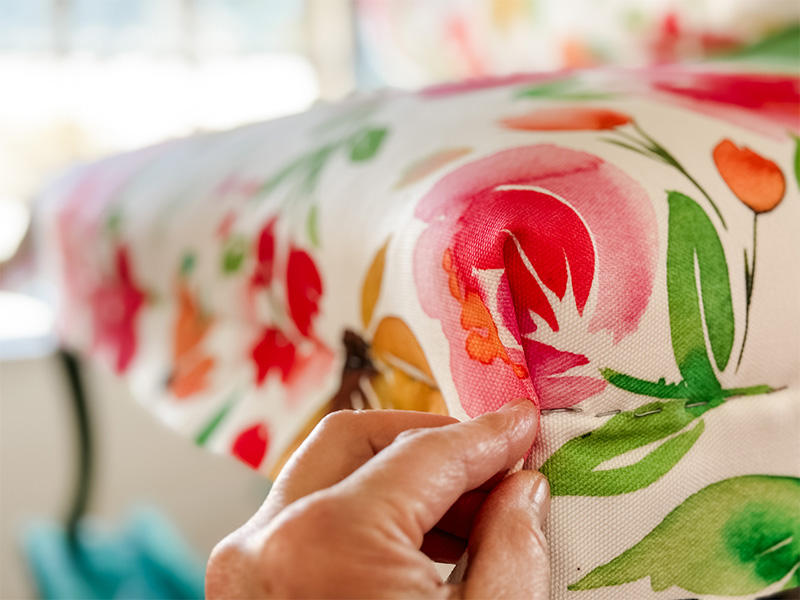
Step 12: Place and staple your cloth
Organize the material to get the easiest look. I at all times take my time with this step as a result of it issues essentially the most. When you’ve determined in your ideally suited placement, staple the material tightly into place. Use scissors to chop away the surplus cloth.
Half 4: Learn how to Upholster the Again
This facet goes to go slightly faster than the entrance, however nonetheless be as stunning and safe!
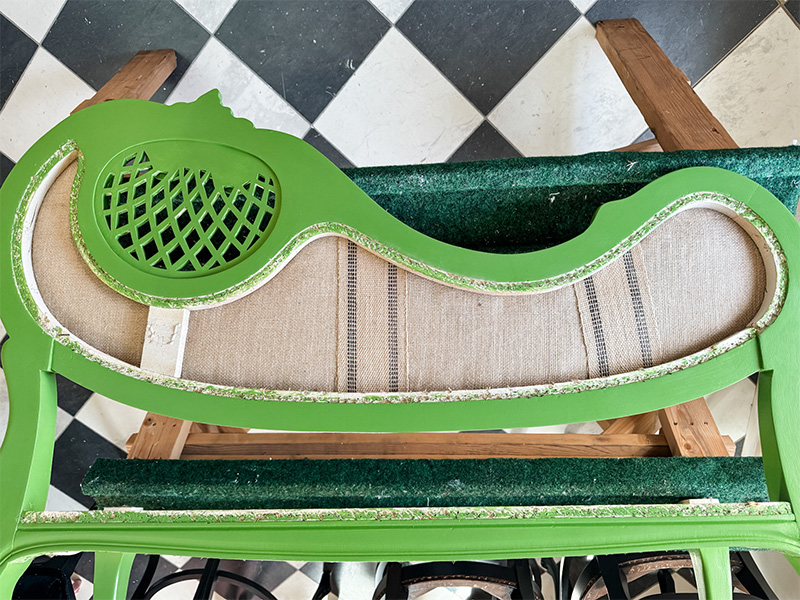
Step 13: Have the again dealing with up
Now that we’re engaged on the again of your sofa, flip it so the bottom is dealing with up. Be sure you’re working in an area the place it will possibly lay flat.
Step 14: Connect burlap to the again facet
Staple a layer of burlap tightly to the again. Fold again and staple the sides to maintain issues neat.

Step 15: Add a layer of Dacron
Cowl the again with a layer of Dacron and staple it into place.
Step 16: Place and safe your cloth
Place the material the way you need it on the again and staple it into place. Reduce off the surplus cloth exterior of the staple line.
Half 5: Learn how to Reupholster the Seat
These steps are going to look much like reupholstering the highest of the chair, so that you’ve bought this!
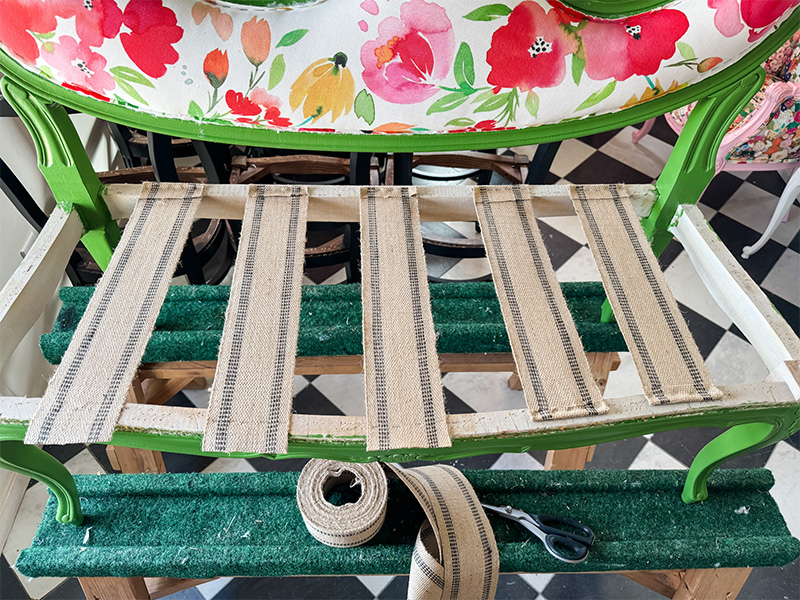
Step 17: Connect the vertical strips of jute webbing
Measure and lower strips of jute webbing that attain from the entrance to the again of the seat. Individually place every strip on the seat and staple one finish. Pull tightly earlier than stapling the opposite finish. Fold again the sides and staple these down.
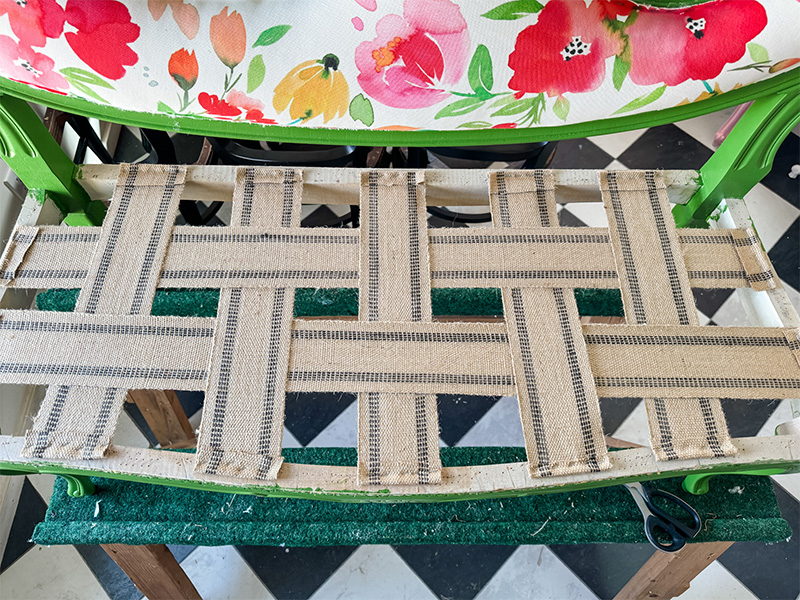
Step 18: Weave horizontal strips of jute webbing
Measure and lower strips of jute webbing that attain from the left to the suitable of the sofa. Staple one finish of those strips to the left facet of the seat. Weave the horizontal strips by the vertical strips. Pull tightly on every strip as you staple them down on the suitable facet, and fold again the sides. Now we have now a stable base for our seat!
Step 19: Safe a layer of burlap
Place a layer of burlap throughout the seat and staple. Subsequent, fold again and staple the sides.
Step 20: Make a seat template utilizing paper
Similar to we made a template for the sofa’s prime, we’re going to do this for the seat. Lay your paper throughout the seat and make a template. You’ll want to mark the place the again supporting legs are.
Hint your paper template onto the two” medium-dense foam and lower it out. (Some folks like to make use of an electrical knife for this.) Set the froth to the facet. We’ll come again to it after the following step.
Step 21: Layer cotton on prime of your burlap
Pile the cotton evenly throughout the seat on prime of your stapled burlap. Lay a pleasant, thick layer to make the seat extra snug.
Step 22: Place the froth in your seat
Seize your 2” foam cutout and place it on prime of the cotton.
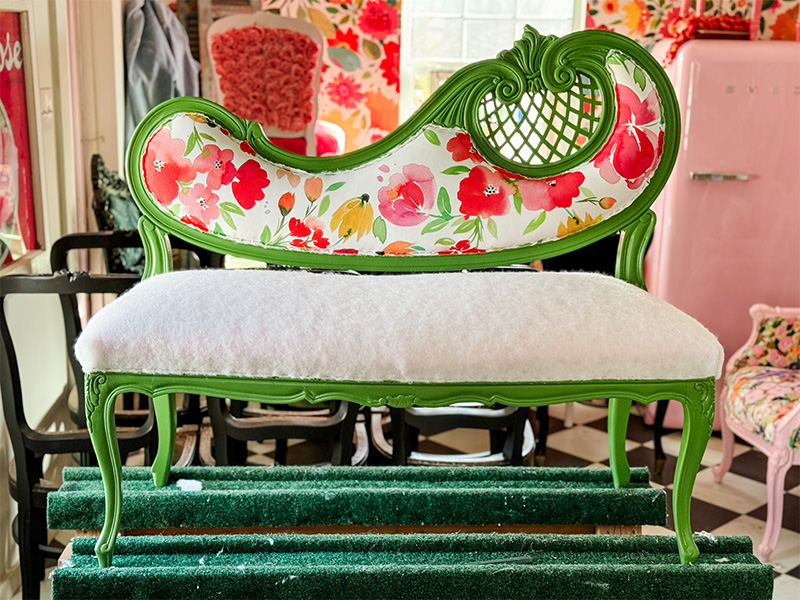
Step 23: Safe Dacron onto layers
Cowl your sofa layers with Dacron and staple it into place. Reduce off the surplus Dacron.
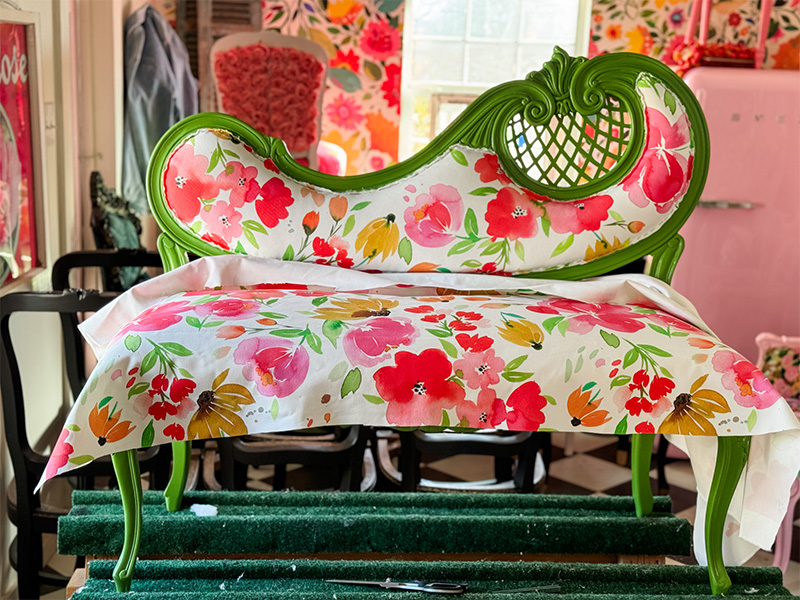
Step 24: Place the seat cloth
Now for an important half—attaching the material. We’re going to take our time on this step, beginning with positioning. Lay your cloth on prime of your seat and place it to get your required look.

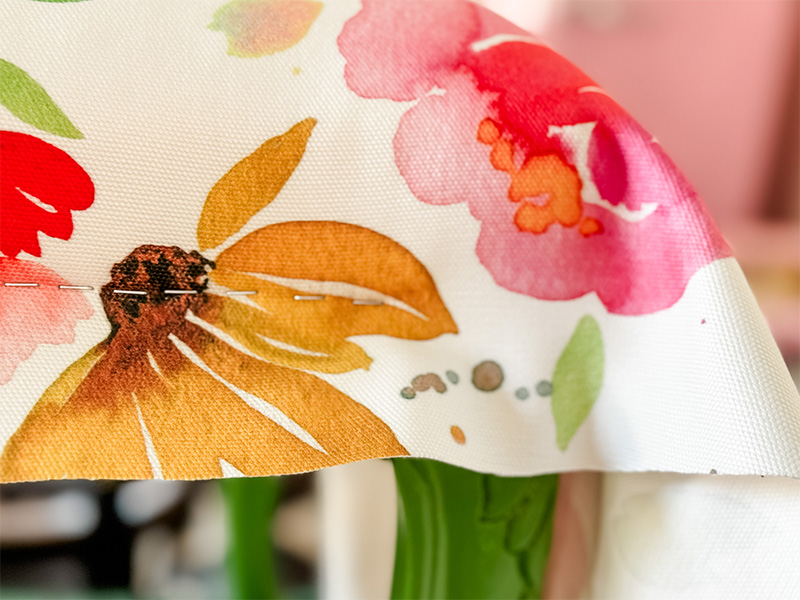
Step 25: Connect short-term staples within the entrance
To maintain issues nonetheless as we work across the seat, place just a few short-term staples to carry the material in entrance.
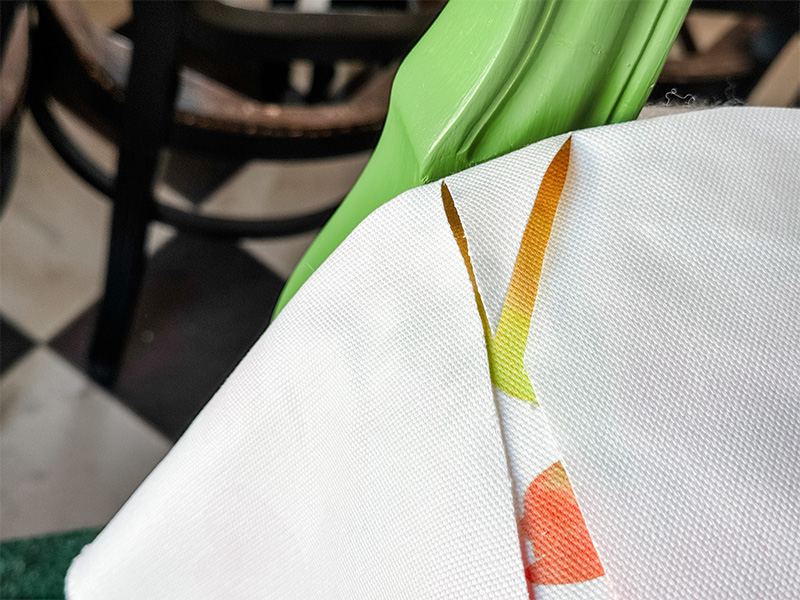
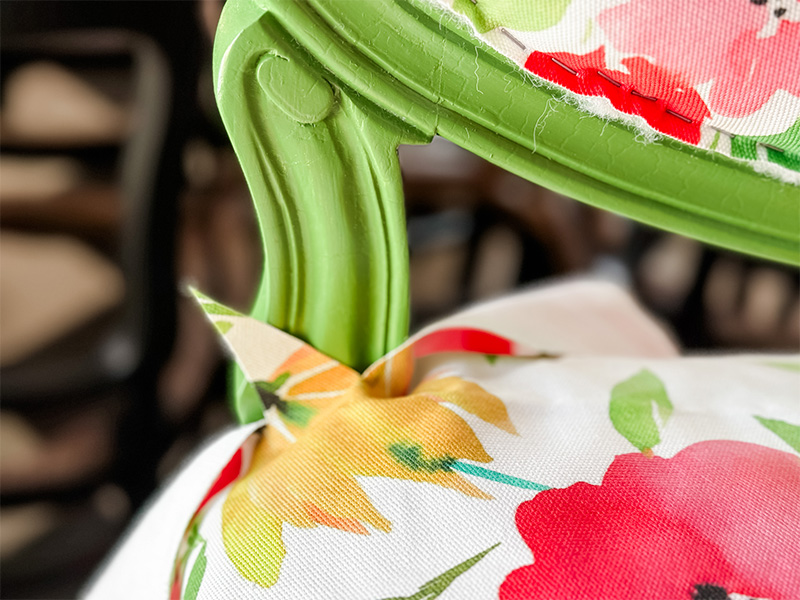
Step 26: Organize cloth across the again sides
With the design sides dealing with, make a V lower in the back of both sides. Fold the material across the wooden and tuck the V into pocket so it will possibly’t be seen.
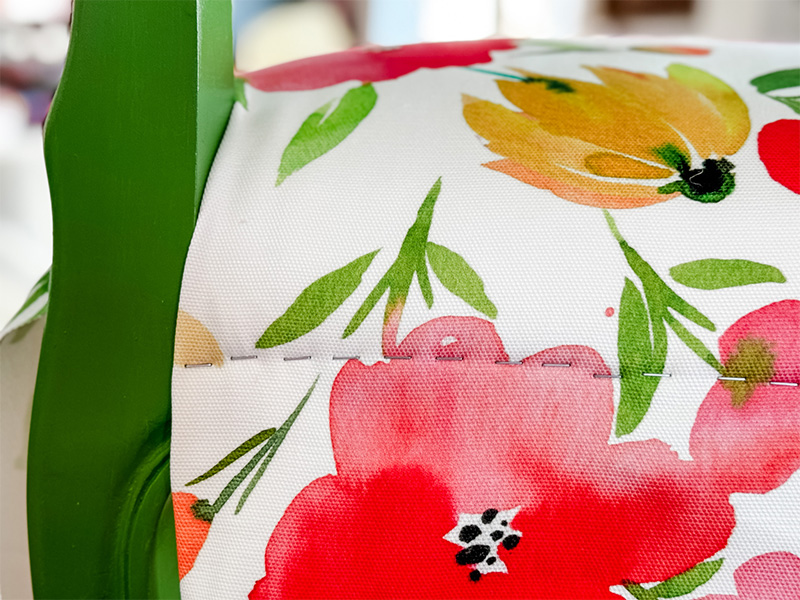
Step 27: Staple cloth across the again sides
Staple the again sides and fold the top edges beneath to get a straight line.
Step 28: Staple from the middle to the sides
Undo your short-term staples in entrance, we’re going to switch them with precise staples. Pull the material tightly and staple beginning on the heart and dealing your option to every edge. Cease earlier than attending to the sting and depart it open.
Step 29: Staple the edges
Staple the edges and are available round to the entrance, pulling the material tightly. Place a few staples to carry it into place. We’re about to fold this nook over.
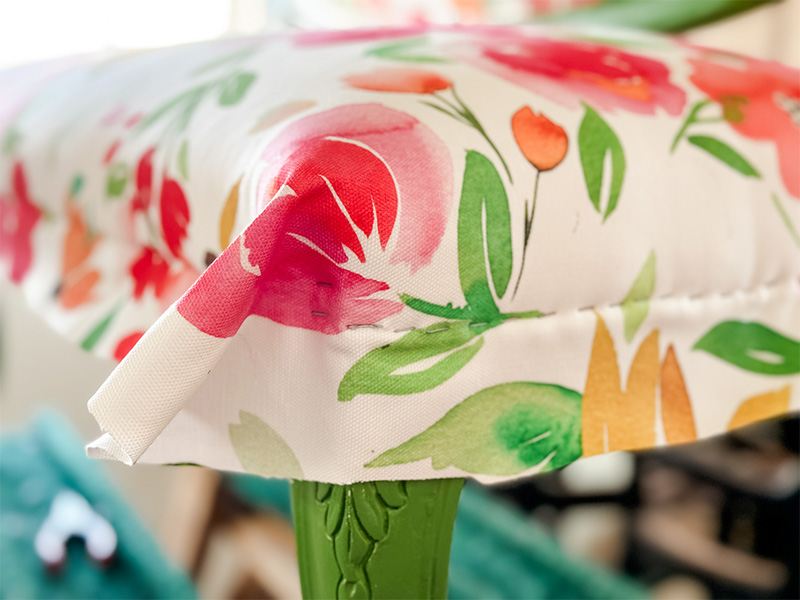
Step 30: Fold the sides over
Return to the entrance and fold the nook. Staple it into place so that you’ve got a pleasant, folded edge. Trim off the surplus cloth.
Half 6: Apply Completed Particulars
Time so as to add these last particulars to finish your reupholstered sofa!
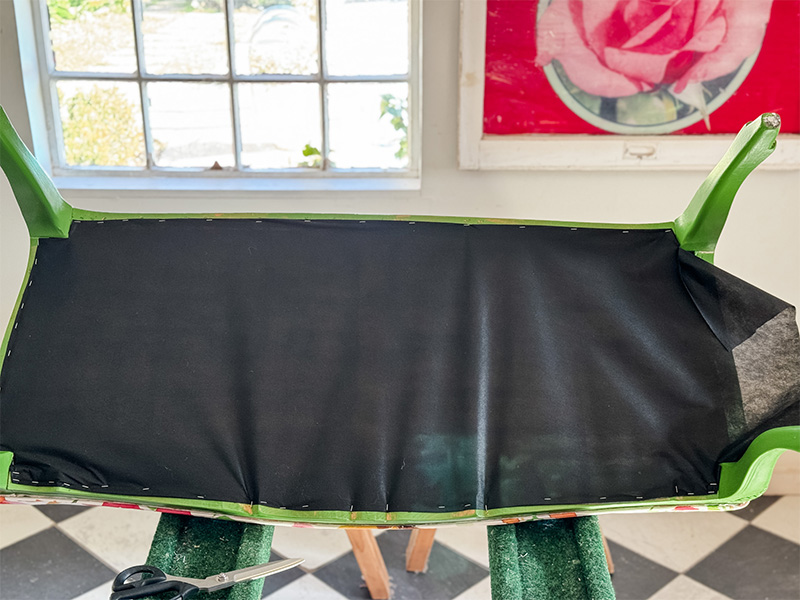
Step 31: Defend the underside with a mud cowl
Flip your sofa over in order that the underside is dealing with up. Cowl the underside with mud cowl cloth. Fold the sides underneath and staple to get a pleasant line across the backside.
Step 32: Select which adorning trim to cowl staple traces
Let’s cowl these hard-working staples with one thing extra engaging. Resolve what trim you wish to use to cowl over the staple line.
Step 33: Connect trim to staple traces
Glue (or hammer) the trim over the staple line on the seat, prime and bottom. Tuck the sides underneath and glue down so you might have a pleasant end.
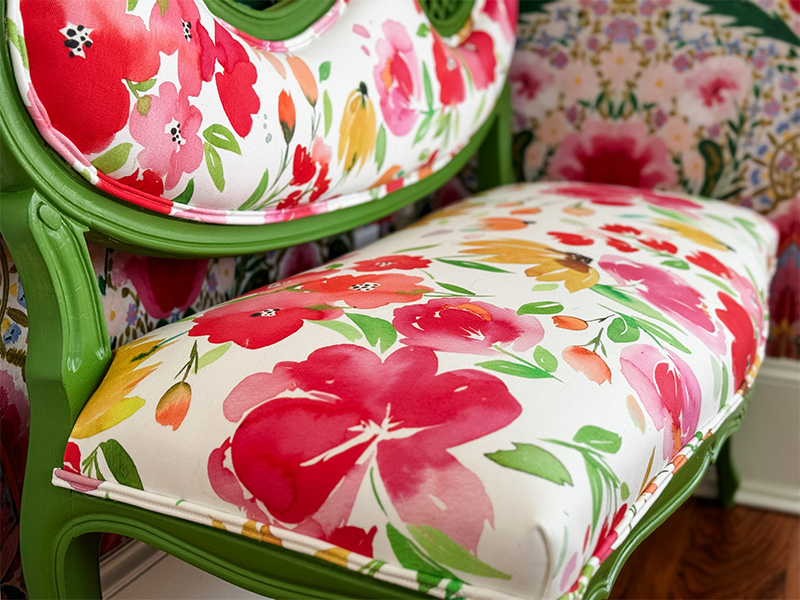
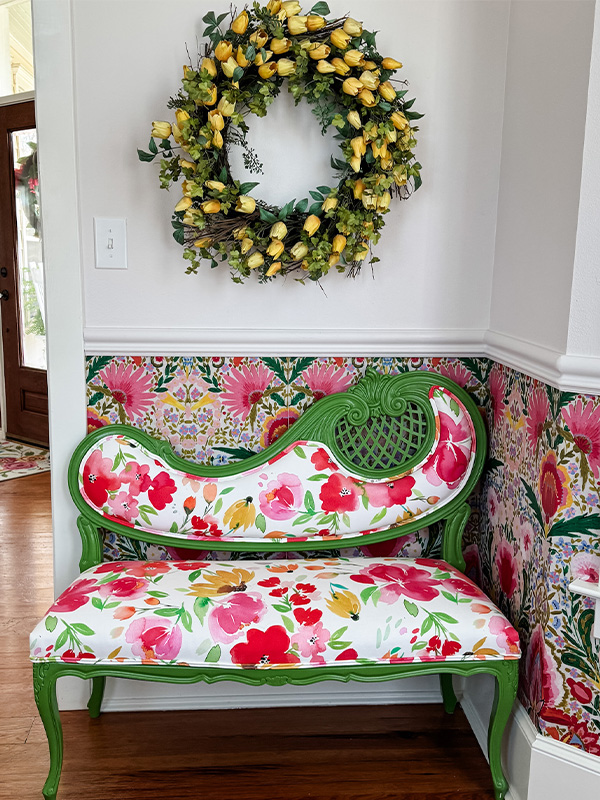
You’ll be shocked at the place you possibly can match a small sofa and the persona it should convey to an area.
Ceaselessly Requested Questions
Need To Study Extra About Upholstery?
The submit How To Reupholster a Sofa appeared first on Spoonflower Weblog.


